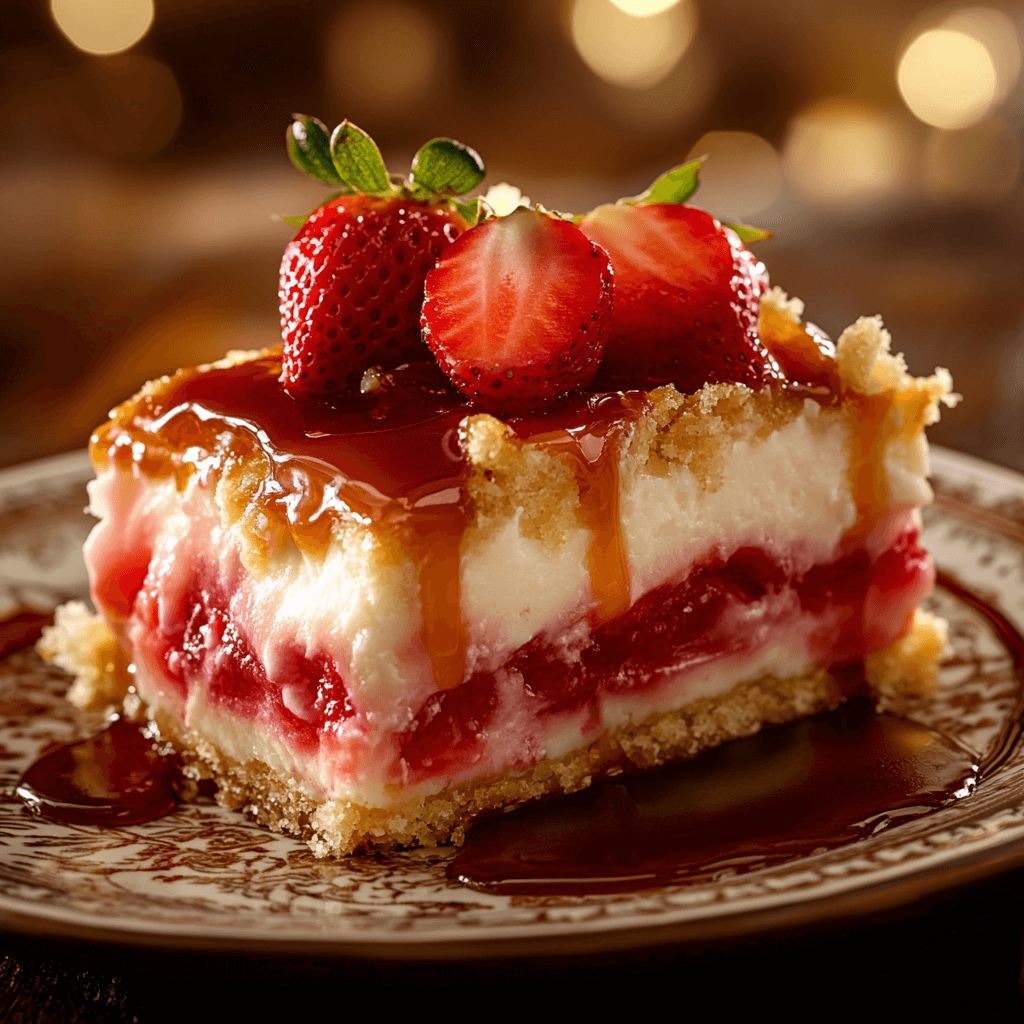
A strawberry cheesecake dump cake is the perfect combination of fruity, creamy, and buttery flavors—all in a simple, no-fuss recipe. This dessert is as easy as it gets: just layer the ingredients, pop it in the oven, and let the magic happen. There’s no need for complicated steps or precise mixing. You’ll get a deliciously gooey and golden cake with minimal effort.
If you’re looking for a quick yet indulgent dessert, this recipe is a must-try. Whether you’re preparing for a potluck, a family gathering, or a cozy night in, this strawberry cheesecake dump cake is sure to impress.
we will take you through step-by-step instructions, expert tips, and common troubleshooting solutions to ensure your dump cake turns out perfectly every time. Let’s dive in!
Table of Contents
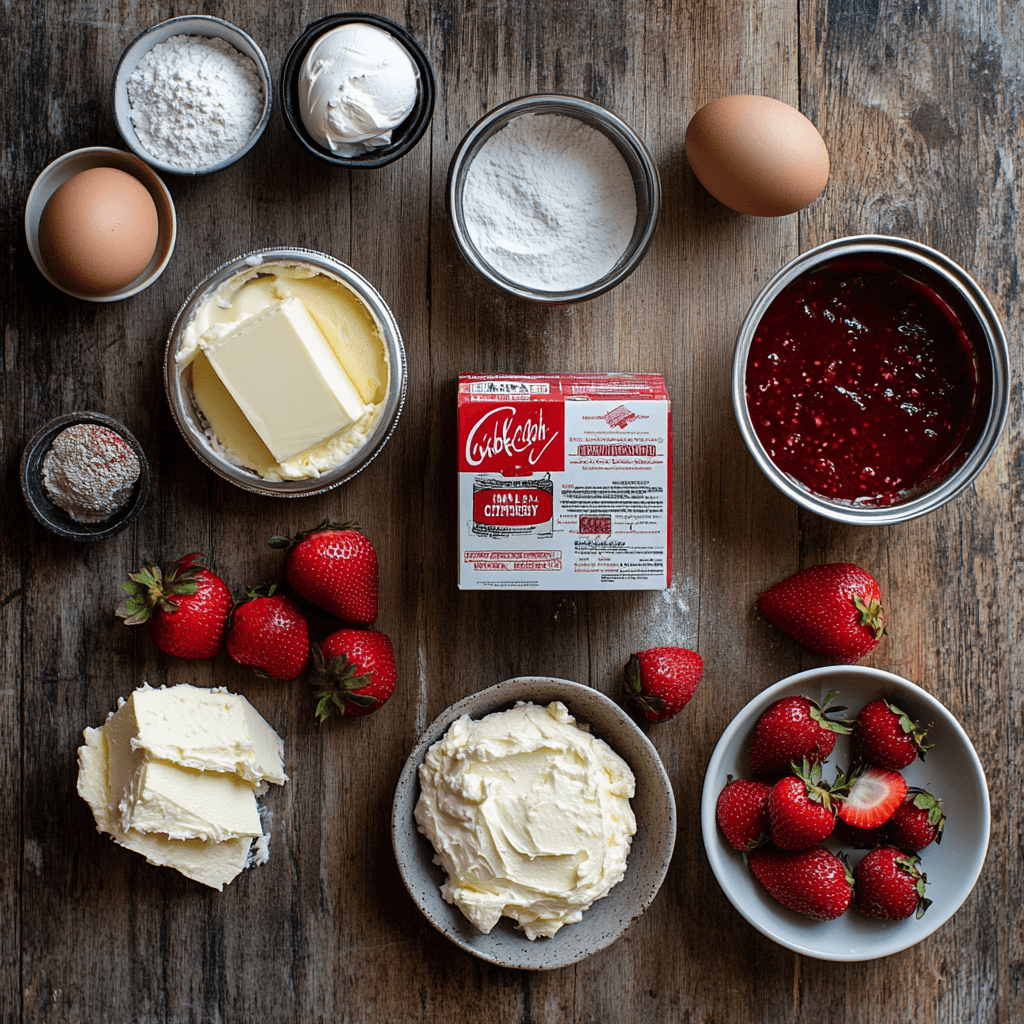
What You’ll Need: Ingredients & Equipment
Why These Ingredients Work Together
Every ingredient in this recipe plays a crucial role in delivering the perfect balance of sweetness, creaminess, and texture. Here’s why:
- Strawberry pie filling adds natural fruitiness and moisture.
- Cream cheese brings richness and a slight tang, balancing the sweetness.
- Vanilla cake mix creates a buttery, golden crust.
- Melted butter binds the cake mix together for a tender, crumbly texture.
Ingredients List
| Ingredient | Amount | Notes |
|---|---|---|
| Strawberry pie filling | 1 can (21 oz) | Can substitute with fresh strawberries + sugar |
| Cream cheese | 8 oz | Softened for easy mixing |
| Vanilla cake mix | 1 box | White or yellow cake mix works |
| Butter | ½ cup (1 stick) | Melted for even coverage |
| Eggs | 2 | Room temperature for better mixing |
| Vanilla extract | 1 tsp | Enhances flavor (optional) |
Equipment Needed
- 9×13 baking dish – Ensures even baking.
- Mixing bowl – For combining ingredients.
- Electric mixer (optional) – Helps achieve a smooth cream cheese layer.
- Spatula – For spreading ingredients evenly.

Step-by-Step Instructions: How to Make Strawberry Cheesecake Dump Cake
Step 1: Preheat and Prepare
Preheat your oven to 350°F (175°C). Lightly grease your baking dish with butter or non-stick spray. This prevents sticking and makes serving easier.
Step 2: Layer the Strawberry Filling
Pour the strawberry pie filling into the baking dish. Spread it evenly using a spatula. If using fresh strawberries, mix them with ¼ cup of sugar and let them sit for 10 minutes to release their natural juices before layering them in the dish.
Pro Tip: For an extra burst of flavor, add a sprinkle of cinnamon or a splash of lemon juice to the strawberry filling before layering it in the dish.
Step 3: Prepare the Cream Cheese Mixture
In a mixing bowl, beat the cream cheese, eggs, and vanilla extract until smooth. Drop spoonfuls of this mixture over the strawberry layer. The cream cheese will create rich, creamy pockets throughout the cake as it bakes.
Tip: If you prefer a more even cheesecake layer, use an electric mixer and spread the cream cheese mixture evenly across the strawberries.
Step 4: Add the Cake Mix
Open the vanilla cake mix and sprinkle it evenly over the cream cheese layer. Do not stir. This step is crucial because the dry cake mix will absorb moisture from the layers below as it bakes.
Fun Fact: The beauty of a dump cake is that the layering process creates a self-saucing dessert, meaning the fruit filling stays gooey while the top forms a crisp crust.
Step 5: Drizzle the Melted Butter
Pour the melted butter evenly over the dry cake mix. Make sure to cover as much of the surface as possible. The butter helps the cake mix bake properly and creates a golden, buttery crust.
Troubleshooting Tip: If you notice dry spots after baking, you may not have used enough butter. Try gently shaking the pan before baking to help distribute the butter.
Step 6: Bake Until Golden Brown
Place the dish in the preheated oven and bake for 40-45 minutes. You’ll know it’s ready when:
The top is golden and slightly crisp.
The strawberry filling is bubbling around the edges.
The cream cheese has melted into the layers.

Tip: If your cake is browning too quickly, cover it loosely with foil during the last 10 minutes of baking.
Step 7: Let It Rest Before Serving
Once baked, remove the cake from the oven and let it cool for at least 10-15 minutes. This allows the flavors to meld and the texture to set properly.
Serving Suggestion: Serve warm with a scoop of vanilla ice cream or a dollop of whipped cream for an extra indulgent treat.
How to Keep Your Dump Cake Moist and Delicious
To keep your strawberry cheesecake dump cake soft and flavorful, follow these expert tips:
- Use enough butter: Ensure even coverage to prevent dry spots.
- Don’t overbake: Check at 35 minutes to avoid drying out.
- Let it rest: Allowing it to cool for 10 minutes helps the flavors blend.
Storage Tip: Refrigerate leftovers in an airtight container for up to 4 days. Reheat in the oven at 300°F (150°C) for 10 minutes before serving.
Common Issues & How to Fix Them
Why Is My Dump Cake Powdery?
- Problem: Dry cake mix remains visible on top after baking.
- Solution: Ensure the melted butter covers all areas. If needed, drizzle extra melted butter over dry spots before returning the cake to the oven for an additional 5-10 minutes.
How Do Bakeries Make Their Cakes So Moist?
- Use full-fat ingredients (butter, cream cheese, eggs) for extra richness.
- Cover the cake loosely with foil after baking to trap moisture.
- Add a spoonful of sour cream to the cream cheese layer for extra creaminess.
Did You Know? Some professional bakers add a splash of heavy cream to their dump cakes for an ultra-rich texture.
Fun Variations to Try
Want to put a twist on this classic recipe? Try these creative variations:
Chocolate Strawberry Cheesecake Dump Cake
Replace the vanilla cake mix with chocolate cake mix for a richer, more indulgent dessert.
Lemon Strawberry Cheesecake Dump Cake
Add 1 teaspoon of lemon zest to the cream cheese mixture for a bright, citrusy contrast.
Nutty Strawberry Cheesecake Dump Cake
Sprinkle chopped pecans or almonds on top before baking for a crunchy texture.
Serving Suggestions: Elevate Your Strawberry Cheesecake Dump Cake Experience
Once your strawberry cheesecake dump cake is baked to golden perfection, the fun begins. While this dessert is delicious on its own, pairing it with the right toppings and sides can make it even more indulgent. Below are some expert-approved serving suggestions to take this dessert to the next level.
Best Toppings for Extra Flavor
- Whipped Cream – A dollop of freshly whipped cream adds a light and airy contrast to the rich flavors.
- Vanilla Ice Cream – The cold, creamy texture complements the warm, gooey cake beautifully.
- Caramel or Chocolate Drizzle – For extra decadence, drizzle some warm caramel or chocolate sauce over the top.
- Toasted Nuts – Chopped pecans, walnuts, or almonds add a delightful crunch.
- Powdered Sugar – A light dusting enhances the presentation and balances the flavors.
Pro Tip: For an elegant touch, serve each slice with fresh mint leaves and sliced strawberries for a restaurant-quality finish.
How to Store and Reheat Strawberry Cheesecake Dump Cake
To enjoy this dessert at its best, proper storage and reheating methods are essential. Follow these expert tips to maintain its flavor and texture over time.
How to Store It Properly
- Short-Term (Up to 2 Days) – Cover the dish tightly with plastic wrap or aluminum foil and store it at room temperature if your kitchen is cool.
- Long-Term (Up to 4 Days) – Since the cake contains cream cheese, refrigeration is recommended. Place it in an airtight container and refrigerate for up to 4 days.
- Freezing (Up to 3 Months) – If you want to store it for longer, freeze individual portions in sealed freezer-safe bags. Thaw overnight in the refrigerator before reheating.
Best Ways to Reheat It
- Oven (Recommended for Best Texture) – Preheat to 300°F (150°C) and bake for 10 minutes until warm.
- Microwave (Quick Method) – Heat individual portions on medium power for 30-40 seconds.
- Air Fryer (Crispiest Option) – Set to 320°F (160°C) and heat for 4-5 minutes to restore crispness.
Pro Tip: If reheating in the microwave, add a small splash of milk or cream to keep the cake moist.
Common Mistakes and How to Fix Them
Even though dump cakes are incredibly easy to make, certain missteps can affect the final result. Here are some common mistakes and expert solutions to ensure success every time.
1. Dry and Powdery Cake Top
Mistake: Uneven butter distribution leaves dry spots in the cake mix.
Solution: Pour melted butter slowly and evenly across the top, or use thinly sliced butter pats for more coverage.
2. Overly Runny or Soggy Cake
Mistake: The fruit filling released too much liquid, making the cake mushy.
Solution: If using fresh strawberries, drain excess juice before layering. Also, bake the cake for an additional 5-10 minutes to help firm up the texture.
3. Undercooked Center
Mistake: The middle remains too soft while the edges bake fully.
Solution: Cover the dish loosely with aluminum foil after 30 minutes to prevent overbrowning while allowing the center to cook through.
4. Cheesecake Layer is Too Thick or Clumpy
Mistake: The cream cheese was not softened properly before mixing.
Solution: Allow the cream cheese to reach room temperature and mix it thoroughly with the eggs before layering.
Did You Know? Adding one tablespoon of cornstarch to the cream cheese mixture can help create a smoother, silkier texture.
FAQs
Can You Put Fresh Strawberries Between Cake Layers?
Yes! Using fresh strawberries instead of canned pie filling is a great way to reduce sugar. Slice them thinly and toss them with sugar and lemon juice before layering.
Does Fruit Dump Cake Need to Be Refrigerated?
Yes. Since this recipe contains cream cheese, it should be stored in the refrigerator to prevent spoilage. It will stay fresh for up to 4 days when properly stored.
Why Is My Dump Cake Powdery?
A powdery texture occurs when the cake mix doesn’t fully absorb moisture. Ensure the melted butter is evenly distributed, and gently press the dry mix down with a spatula before baking.
How Do You Keep Strawberries from Sinking in a Cake?
To prevent sinking, toss fresh strawberries in a tablespoon of flour before adding them to the batter. This keeps them suspended within the layers.
Why Is It Called a Dump Cake?
The name comes from the fact that all ingredients are “dumped” into a baking dish without mixing. The layering process creates a unique texture of gooey fruit filling, creamy cheesecake, and a crisp cake topping.
How to Store Dump Cake Overnight?
Store leftovers in the refrigerator in an airtight container. Reheat using an oven or microwave for the best texture.
How Do Bakeries Get Their Cakes So Moist?
Bakeries achieve extra-moist cakes by using high-fat ingredients, baking at lower temperatures, and ensuring proper storage. Some bakers also brush cakes with syrup after baking to lock in moisture.
Conclusion
This strawberry cheesecake dump cake is the ultimate dessert for those who love big flavors with minimal effort. With its buttery topping, creamy cheesecake layer, and sweet strawberry filling, this cake is guaranteed to be a crowd-pleaser.
Whether you follow the classic recipe or experiment with fun variations, this foolproof dessert will never disappoint. Now it’s time to grab your ingredients, start baking, and enjoy a truly effortless yet indulgent treat!
Print
Strawberry Cheesecake Dump Cake: The Ultimate Easy Dessert
- Total Time: 50-55 minutes
- Yield: 1 (9×13-inch) cake
Description
A strawberry cheesecake dump cake is the perfect combination of fruity, creamy, and buttery flavors—all in a simple, no-fuss recipe. This dessert is as easy as it gets: just layer the ingredients, pop it in the oven, and let the magic happen. There’s no need for complicated steps or precise mixing. You’ll get a deliciously gooey and golden cake with minimal effort. Perfect for potlucks, family gatherings, or a cozy night in, this dessert is sure to impress!
Ingredients
- 1 can (21 oz) strawberry pie filling (or fresh strawberries mixed with ¼ cup sugar)
- 8 oz cream cheese, softened
- 1 box vanilla cake mix (white or yellow cake mix works)
- ½ cup (1 stick) butter, melted
- 2 eggs, room temperature
- 1 tsp vanilla extract (optional, enhances flavor)
Instructions
- Preheat & Prepare:
Preheat your oven to 350°F (175°C). Lightly grease a 9×13-inch baking dish with butter or non-stick spray to prevent sticking. - Layer the Strawberry Filling:
Pour the strawberry pie filling into the baking dish and spread evenly with a spatula. If using fresh strawberries, mix them with ¼ cup sugar and let them sit for 10 minutes before layering.Pro Tip: Add a sprinkle of cinnamon or a splash of lemon juice to the strawberries for extra flavor.
- Prepare the Cream Cheese Mixture:
In a mixing bowl, beat the softened cream cheese, eggs, and vanilla extract until smooth. Drop spoonfuls of this mixture over the strawberry layer.Tip: For an even cheesecake layer, use an electric mixer and spread it evenly across the strawberries.
- Add the Cake Mix:
Sprinkle the dry vanilla cake mix evenly over the cream cheese layer. Do not stir. - Drizzle the Melted Butter:
Pour the melted butter evenly over the dry cake mix, ensuring full coverage.Troubleshooting Tip: If you notice dry spots after baking, drizzle extra melted butter over the top and bake for 5-10 minutes more.
- Bake Until Golden Brown:
Bake for 40-45 minutes, until the top is golden brown and slightly crisp. The strawberry filling should be bubbling at the edges.Tip: If the cake browns too quickly, cover loosely with foil for the last 10 minutes of baking.
- Let It Rest & Serve:
Allow the cake to cool for 10-15 minutes before serving. Serve warm with a scoop of vanilla ice cream or a dollop of whipped cream for extra indulgence.
Notes
- Storage: Store in an airtight container in the refrigerator for up to 4 days.
- Reheating: Reheat in the oven at 300°F (150°C) for 10 minutes or microwave individual portions for 30-40 seconds.
- Freezing: Freeze individual portions for up to 3 months. Thaw overnight in the fridge before reheating.
- Variations: Try using chocolate cake mix for a chocolate-strawberry twist or add lemon zest to the cheesecake mixture for a bright citrusy contrast.
- Common Issues: If the top is dry, make sure butter is evenly distributed. If the center is too soft, bake for 5-10 extra minutes.
- Prep Time: 10 minutes
- Cook Time: 40-45 minutes
- Category: Breakfast
- Cuisine: American
Nutrition
- Calories: ~320
- Fat: ~15g
- Carbohydrates: ~40g
- Protein: ~4g

6 thoughts on “Strawberry Cheesecake Dump Cake: The Ultimate Easy Dessert”