Salmon onigiri filling isn’t just a snack—it’s a portable, protein-packed meal that carries centuries of Japanese tradition in each bite. These triangular rice balls filled with savory, flaky salmon have become a favorite around the globe. Whether packed in a bento box, grabbed from a convenience store shelf, or handmade at home, salmon onigiri delivers comfort and flavor with simplicity.
While it may seem easy to make, getting the salmon onigiri filling just right requires some finesse. This guide breaks it all down—from selecting the right ingredients to shaping perfect triangles and exploring flavor-packed variations. You’ll discover how to master the basics while also learning fun upgrades and smart kitchen hacks. In addition, we’ll address common pitfalls and provide clear answers to your most pressing questions.
Ingredients and Instructions for Classic Salmon Onigiri Filling
Making great salmon onigiri filling starts with three simple elements: quality rice, well-prepared salmon, and thoughtful seasoning. However, even small tweaks to technique or ingredients can take this from “just okay” to absolutely irresistible.
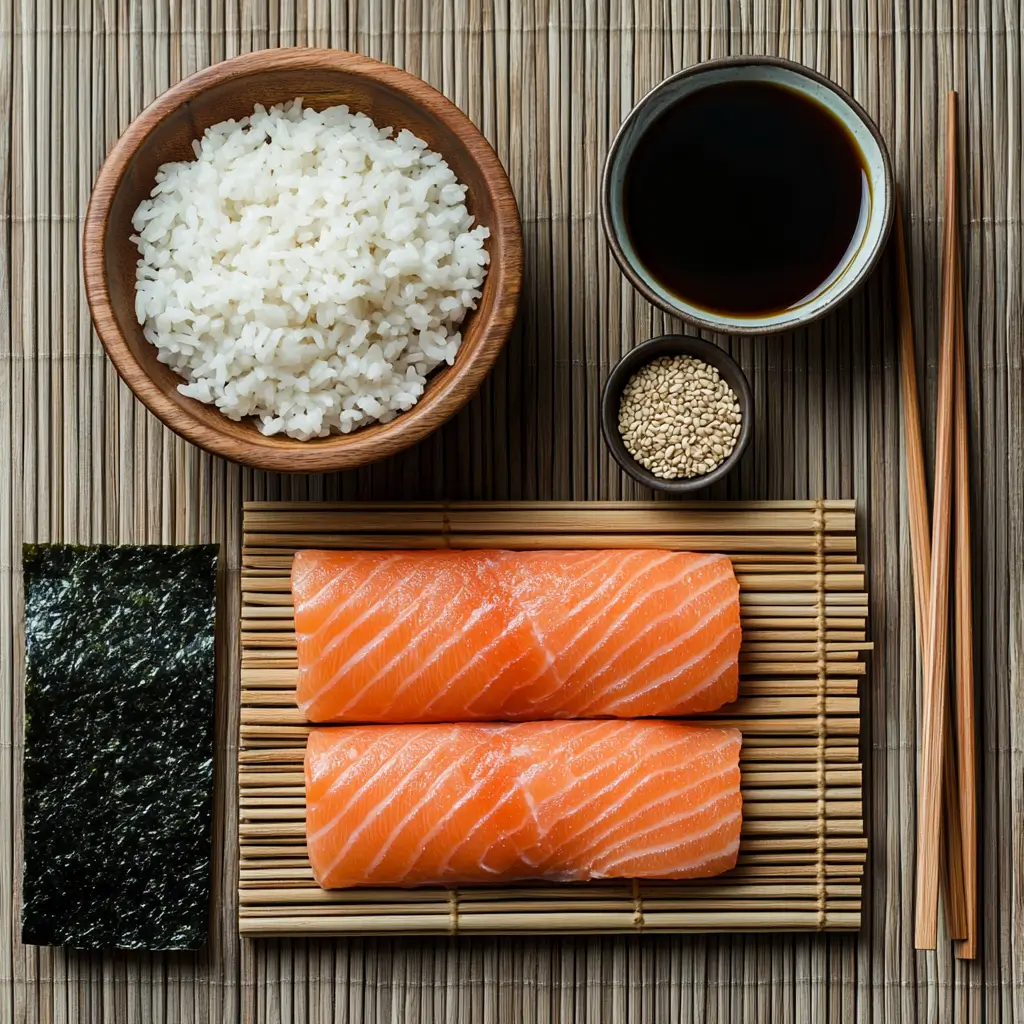
Essential Ingredients for Salmon Onigiri
Use the chart below to gather everything you need. Each element plays a unique role in flavor and texture:
| Ingredient | Amount | Notes |
|---|---|---|
| Cooked salmon fillet | 1 medium | Use grilled, baked, or canned salmon, skin removed |
| Japanese short-grain rice | 2 cups | Must be freshly cooked; sticky texture helps shape |
| Salt | 1/2 tsp | Enhances rice flavor and helps preserve |
| Soy sauce | 1 tsp | Optional, adds umami depth to the salmon |
| Sesame oil (optional) | 1/2 tsp | Provides aromatic lift to the filling |
| Nori seaweed sheets | 2 full sheets | Cut into strips or thirds for easy wrapping |
| Toasted sesame seeds | 1 tsp | Adds nutty texture, optional garnish |
Ingredient Insights
Firstly, using high-quality short-grain rice is crucial. Unlike long-grain varieties, this rice becomes pleasantly sticky once cooked, which helps hold its shape. Secondly, using freshly grilled salmon results in a more flavorful, textured filling compared to canned varieties, though the latter can be a convenient option when you’re short on time.
Instructions: Step-by-Step
1. Prepare the Salmon Filling
Initially, grill or bake your salmon until fully cooked. After that, use a fork to flake it into small pieces, discarding any bones or skin. Then, mix in soy sauce and sesame oil for extra depth. Finally, let the mixture cool slightly before use.
2. Cook the Rice
Use a rice cooker or stovetop method to cook your short-grain Japanese rice. Once done, allow it to rest covered for 10 minutes. Then, season lightly with salt to enhance the base flavor.
3. Shape the Onigiri
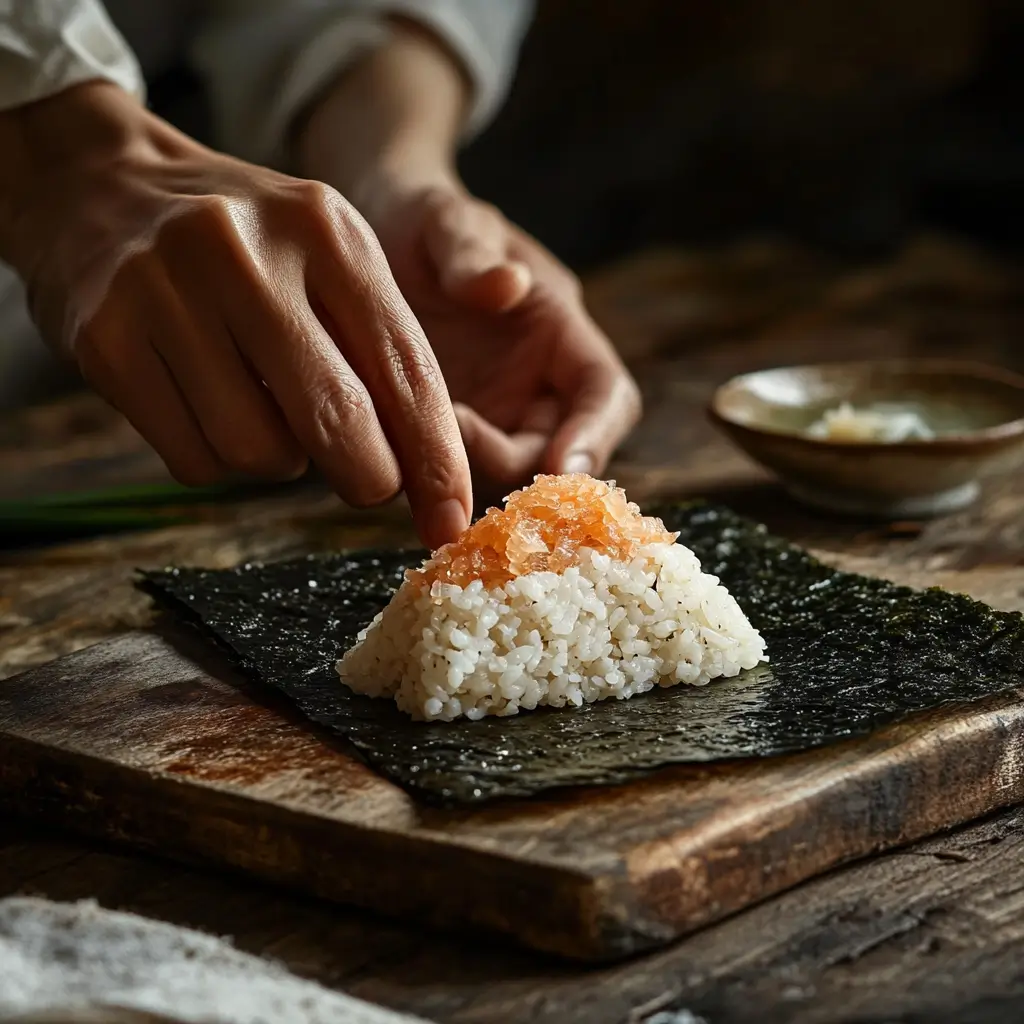
After moistening your hands with water (and adding a pinch of salt to your palms), scoop a small amount of rice. Flatten it slightly and place a spoonful of the salmon filling in the center. Next, add a little more rice to cover and press gently into a triangle.
4. Wrap and Finish
Wrap each onigiri with a strip of nori. Optionally, sprinkle with sesame seeds or add shiso leaves for garnish. Serve immediately or wrap in plastic for later.
How to Master The Salmon Onigiri Filling
Let the Onigiri Cool Before Wrapping
After shaping your rice balls, let them cool to room temperature before applying nori. Although this might seem like a small detail, it significantly improves the final texture. Otherwise, the steam from the warm rice softens the seaweed, resulting in a soggy bite.
Additionally, cooling helps the triangle hold its shape better, especially if you plan to transport it.
Wrap with Nori Just Before Serving
To preserve that crisp nori snap, wrap the rice ball only when you’re ready to eat or serve. You can use pre-cut seaweed strips, or cut them yourself. A 1/3 sheet of nori works best for standard-sized onigiri.
Interestingly, many Japanese convenience stores wrap their onigiri in plastic film with a separation layer between the rice and seaweed. This ensures peak texture at the time of consumption.
Refrigerate or Freeze for Convenience
If storing overnight, wrap the rice ball in plastic wrap and place it in an airtight container. Although refrigeration dries out rice slightly, reheating gently can help restore its soft texture. Conversely, freezing offers better preservation. Freeze without nori, and rewrap once thawed.
Notably, you can microwave frozen onigiri (without nori) on medium for 60–90 seconds. Then, add fresh seaweed and let cool slightly before eating.
Best Salmon Onigiri Filling Variations to Try
Although traditional salmon onigiri filling is delicious, adding variety can keep your meals exciting. Below are creative twists that preserve the integrity of the dish while offering fresh new flavors.
Spicy Salmon Mayo
Firstly, mix flaked salmon with Japanese mayo and a dash of sriracha. The creaminess balances the heat, creating a bold filling. Additionally, this variation stores well and remains moist even after refrigeration.
Teriyaki Glazed Salmon
Cook your salmon with a thick teriyaki glaze, then flake it gently. The sweet-savory contrast pairs beautifully with the mild rice. For another great take on bold, layered flavors, check out Tasty Fusions’ easy and delicious salmon rice balls recipe.
Umeboshi & Salmon Fusion
Mixing tart pickled plum (umeboshi) with salmon creates a flavor explosion. This fusion delivers salty, sour, and savory notes in one bite. Additionally, it’s a traditional pairing that supports digestion and balances heavy meals.
Smoked Salmon with Scallions
Alternatively, use cold-smoked salmon and mix it with finely chopped scallions. This version has a sushi-like vibe and works great when paired with a wasabi-spiked mayo.
Tip: Always taste your filling before wrapping. Because the rice is neutral, the filling should be flavorful enough to shine without being overpowering.
What Makes a Good Salmon Onigiri Filling? (Key Tips & Techniques)
Crafting a successful salmon onigiri filling is part art, part science. While taste matters most, texture, moisture, and balance also play key roles. Moreover, each element must work in harmony with the rice and nori for a satisfying experience.
Manage Moisture Levels
If the filling is too wet, it will seep into the rice and make the onigiri soggy. For example, if you’re using canned salmon, drain it thoroughly and blot with a paper towel. In contrast, if the filling is too dry, it may crumble or taste bland.
Proportions Matter
Use about 1 to 1.5 teaspoons of filling per rice ball. Although it may seem like a small amount, it ensures the rice can encase the filling properly. Overfilling often leads to structural failure—either splitting or collapsing.
Temperature Awareness
Let fillings cool to room temperature before inserting into warm rice. This helps prevent steam buildup, which can alter the texture of both the rice and the seaweed.
Example: A reader shared that their first onigiri fell apart because they added hot, oily salmon straight from the pan. Cooling your filling is key.
Additionally, pairing fillings with crunchy textures like sesame seeds, scallions, or pickled daikon adds contrast and elevates the eating experience. Just like the careful layering of flavors in vegetarian rice bowls, onigiri thrives on textural harmony.
Pro Tips & Variations for Mastering Salmon Onigiri Filling
As we continue from the essentials covered in Part 1, let’s dive deeper into how to take your salmon onigiri filling from good to unforgettable. While the basic technique is already rewarding, these advanced tips and variations can elevate your onigiri into gourmet-tier comfort food.
Use a Mold for Consistency
Although hand-forming onigiri is traditional, using a mold helps ensure even size and shape, especially when making multiple rice balls. This method also prevents waste, since each portion uses the same amount of rice and filling. Moreover, it simplifies meal prep for kids’ lunches or party trays.
Meal Prep Like a Pro
Because salmon onigiri filling can be made ahead of time, they’re perfect for weekly meal prepping. After wrapping them individually in plastic wrap, store them in the fridge for 24 hours. However, for longer storage, freezing is best. Just be sure to leave off the nori before freezing and wrap it fresh after reheating.
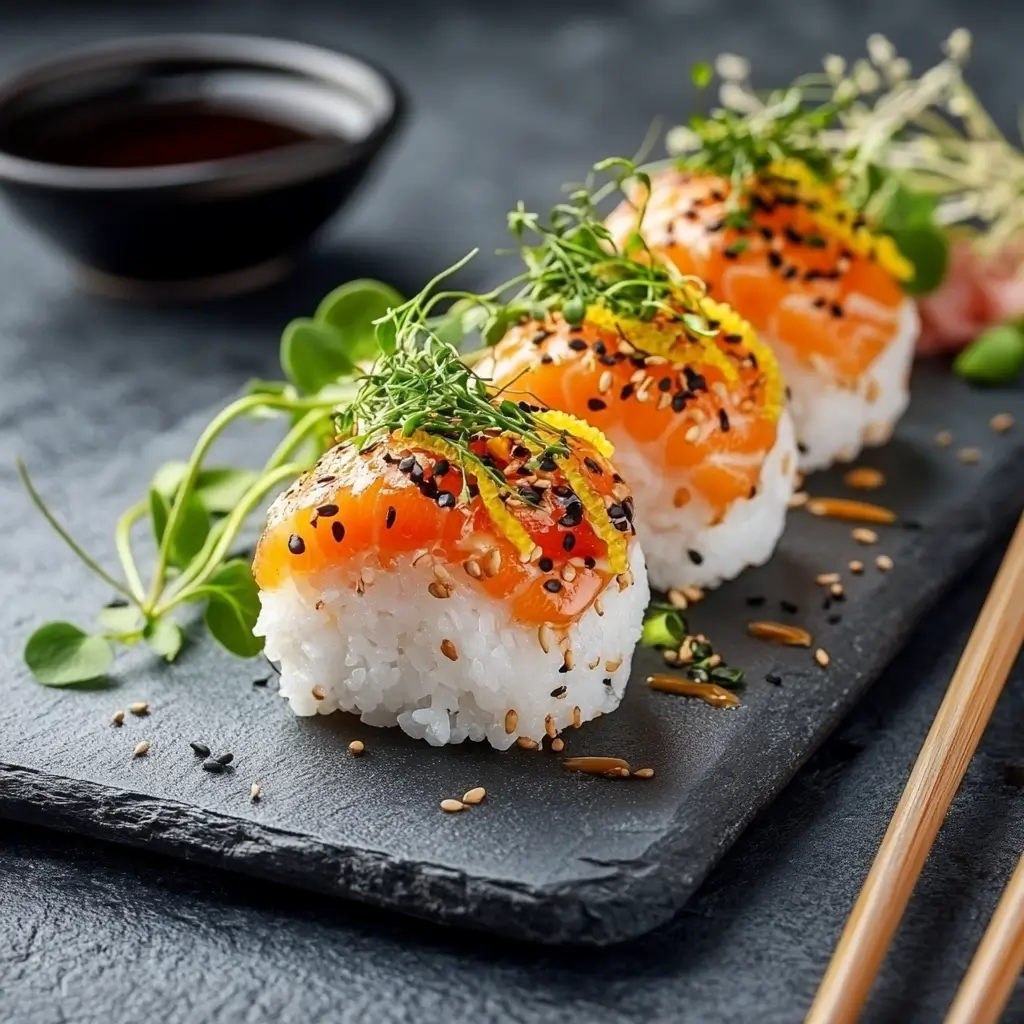
Garnish and Pair Thoughtfully
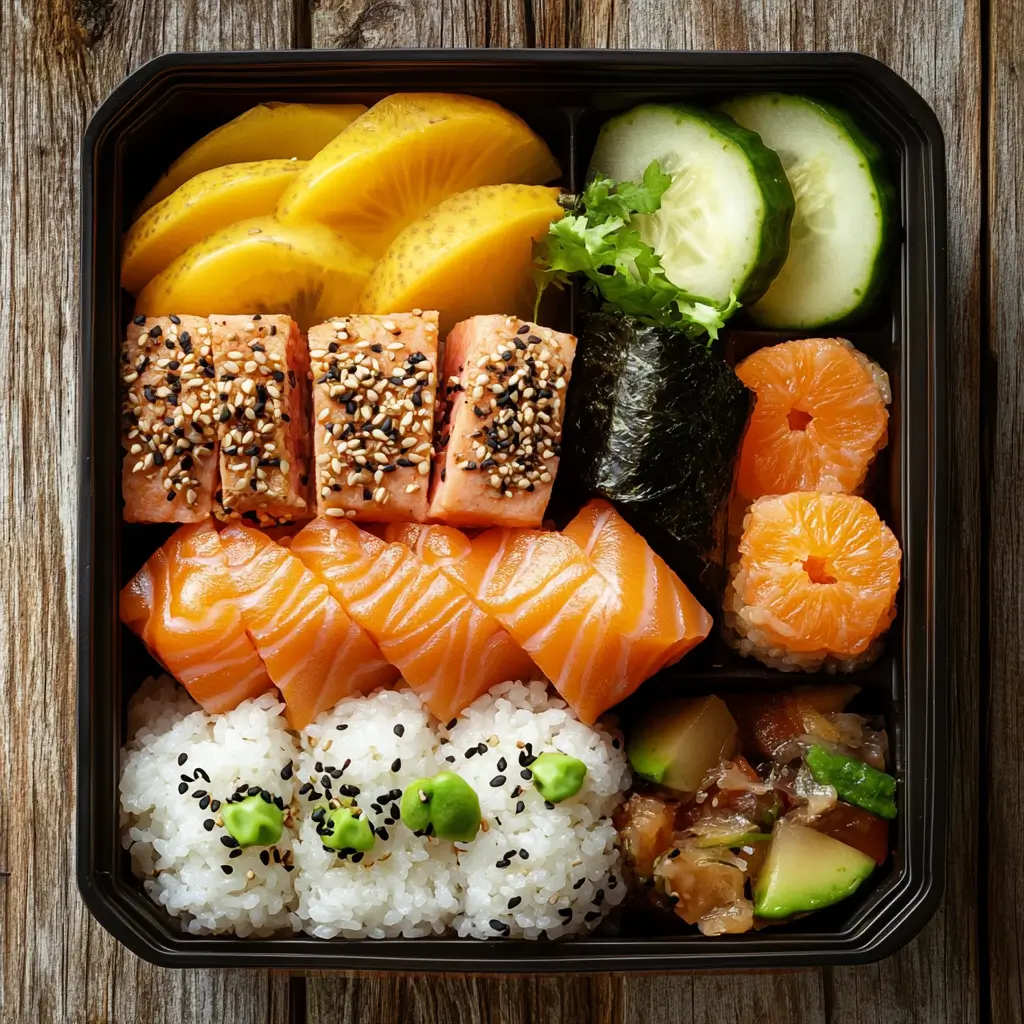
In addition to sesame seeds, consider garnishing with finely chopped green onions, furikake, or even a tiny dot of wasabi. Furthermore, serving onigiri alongside a light miso soup or pickled vegetables creates a balanced meal. For instance, one reader noted that she adds cucumber sunomono salad and tamagoyaki to make her lunchbox feel complete.
Interestingly, the art of bento-making highlights how small details like garnish or placement can influence appetite and enjoyment. Likewise, these details make your onigiri stand out.
Get Creative with Fusion Fillings
While classic grilled salmon works beautifully, combining it with other ingredients can introduce new textures and flavors. For example, mixing smoked salmon with cream cheese creates a sushi-inspired twist. Also, adding a splash of lemon juice brightens the flavor profile and contrasts the richness of the rice.
Is It Better to Make Onigiri with Warm or Cold Rice?
This is one of the most common questions from home cooks, and the answer lies in understanding rice behavior. Short-grain Japanese rice is naturally sticky when warm, which makes it ideal for shaping.
Why Warm Rice Works Best
Warm rice clings together and molds easily. Therefore, it’s perfect for forming onigiri by hand. At this stage, you can shape and fill without the rice breaking apart.
The Problem with Cold Rice
Once chilled, rice grains harden and separate. While this makes cold rice easier to store, it becomes difficult to shape without a mold. Furthermore, attempting to shape cold rice often results in cracked, crumbly onigiri.
Best Practices
Always shape your onigiri with warm rice. Then, allow it to cool to room temperature before wrapping in seaweed. This prevents steam from softening the nori and helps preserve structure.
Pro Tip: If you’re preparing rice in advance, store it in an airtight container wrapped in a slightly damp cloth. Then, reheat gently before shaping.
Do You Eat Salmon Onigiri Cold?
Although many foods lose appeal after cooling, onigiri is an exception. In fact, salmon onigiri is commonly eaten cold or at room temperature.
Popular in Bento Culture
In Japan, onigiri is a staple of the bento box. Since these lunches are typically packed in the morning and eaten hours later, the food is designed to remain safe and enjoyable at room temperature. Moreover, the rice and salmon flavors meld even more over time.
Reheating Advice
If you prefer your onigiri warm, reheat gently without the seaweed, then rewrap with fresh nori. Overheating can ruin the texture of the rice and make the filling too soft.
Bonus Tip: To keep your onigiri tasting fresh, wrap the seaweed separately and add it just before eating.
Safe Storage
Refrigerate onigiri if you plan to eat them later in the day. However, they’re best consumed within 24 hours. For longer storage, freeze them without seaweed and reheat before serving.
FAQs About Salmon Onigiri Filling
What to Put in Salmon Onigiri?
The most traditional version uses grilled, flaked salmon. Although that’s delicious by itself, you can also mix it with a touch of soy sauce, sesame oil, or furikake for extra punch. Some home cooks even use miso-glazed salmon, which brings a sweet-salty contrast.
Moreover, canned salmon is a fantastic budget-friendly alternative, as long as it’s drained well. Add a squeeze of lemon or a pinch of chili flakes to give it depth.
What Are Good Fillings for Onigiri?
Besides salmon, there’s a world of fillings to explore. For example, tuna mayo, spicy cod roe, umeboshi (pickled plum), kombu seaweed, or miso eggplant all make great onigiri centers. Interestingly, the flavor doesn’t need to be complex—just bold enough to balance the plain rice.
Do You Eat Salmon Onigiri Cold?
Yes, and it’s traditionally meant to be enjoyed that way. Because onigiri is often packed in lunchboxes (bento), it’s designed to taste good even after sitting for a few hours. Unlike many rice dishes, its flavor holds well when cold.
However, if you prefer it warm, reheat the rice ball in the microwave for about 30 seconds. Always remove the nori first, as it becomes chewy when heated.
Is It Better to Make Onigiri with Warm or Cold Rice?
Warm rice is essential for shaping. It sticks together easily and molds to the triangle shape with minimal crumbling. On the other hand, cold rice becomes stiff and dry, which makes it harder to work with.
Although some people try reheating cold rice to reshape it, this often leads to uneven texture. Therefore, always cook rice fresh if you plan to make onigiri from scratch.
Can I Use Canned Salmon?
Yes, and it’s surprisingly delicious when seasoned properly. Since canned salmon can be slightly dry, consider adding a small amount of mayo or soy sauce to moisten the filling.
Additionally, always remove any bones or skin before using. For a flavor boost, stir in chopped green onion or a dash of shichimi togarashi.
How Long Does Salmon Onigiri Last?
When stored properly, salmon onigiri lasts up to 24 hours in the fridge. If freezing, it can last for one month. Just make sure to keep it sealed tightly and avoid wrapping with nori before freezing.
Also, remember to label the container with the date, especially if you’re batch prepping.
Can I Freeze Onigiri with Salmon?
Absolutely. It’s best to freeze the rice ball without nori, as the seaweed will become soggy and unappealing once thawed. Wrap the onigiri in plastic wrap, then place it in a freezer-safe bag.
When you’re ready to eat, defrost in the fridge overnight or microwave directly from frozen. After that, wrap in fresh seaweed and enjoy.
Conclusion
In summary, making the perfect salmon onigiri filling is all about attention to detail, ingredient quality, and smart prep. From traditional grilled salmon to innovative fusion twists, the possibilities are endless. By following the techniques, tips, and variations shared in this guide, you’ll be ready to craft delicious, portable rice balls that impress at home or on the go.
Although onigiri may appear simple, its charm lies in the balance of flavor, texture, and presentation. Whether you’re preparing it for a lunchbox, picnic, or quick snack, mastering this dish ensures you always have a satisfying, nutritious option within reach.
Table of Contents
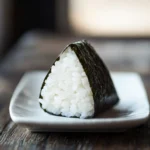
Salmon Onigiri Filling: Easy Recipes & Pro Tips to Master It
- Total Time: 35 minutes
- Yield: 6–8 onigiri (depending on size)
Description
This Classic Salmon Onigiri Filling is the heart of Japan’s beloved rice balls. It combines tender flaked salmon with umami-rich soy sauce and aromatic sesame oil, all nestled in perfectly seasoned short-grain rice and wrapped with crisp nori. Whether made fresh or prepared ahead, this filling elevates your onigiri from simple snack to soul-satisfying comfort food.
Ingredients
1 medium cooked salmon fillet (grilled, baked, or canned; skin removed)
2 cups Japanese short-grain rice, freshly cooked
1/2 tsp salt
1 tsp soy sauce (optional, for umami)
1/2 tsp sesame oil (optional, for aroma)
2 full sheets nori seaweed, cut into strips or thirds
1 tsp toasted sesame seeds (optional, for garnish)
Instructions
Prepare the Salmon Filling:
Grill or bake the salmon until fully cooked. Flake it using a fork, removing any skin or bones. Mix in soy sauce and sesame oil if using. Let cool slightly.Cook the Rice:
Prepare the rice using a rice cooker or stovetop. Once cooked, let it rest covered for 10 minutes. Season with 1/2 tsp salt and gently mix.Shape the Onigiri:
Wet your hands with water and rub a pinch of salt on your palms. Scoop a portion of rice, flatten slightly, and add a spoonful of the salmon filling. Cover with more rice and gently form a triangle shape.Let Onigiri Cool:
Allow the shaped onigiri to cool to room temperature before adding seaweed. This prevents soggy nori and helps the shape hold.Wrap and Garnish:
Just before serving, wrap with a strip of nori. Optionally, sprinkle with toasted sesame seeds or garnish with a shiso leaf.
Storage Tips:
To store, wrap in plastic and keep in an airtight container. For best results, freeze without nori and microwave before adding seaweed. Microwave frozen onigiri (unwrapped) on medium for 60–90 seconds.
Notes
For a vegetarian variation, replace salmon with umeboshi (pickled plum) or seasoned kombu.
Using freshly cooked rice is essential for texture—avoid pre-chilled rice.
Keep your hands wet while shaping to prevent sticking.
- Prep Time: 15 minutes
- Cook Time: 20 minutes
- Category: Dinner
- Cuisine: Japanese
Nutrition
- Calories: 180 per onigiri
- Fat: 5g
- Carbohydrates: 25g
- Protein: 9g

1 thought on “Salmon Onigiri Filling: Easy Recipes & Pro Tips to Master It”